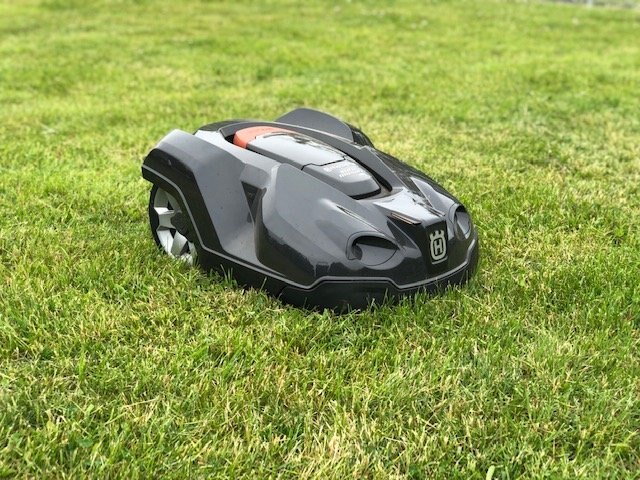
How to install your Husqvarna robotic lawn mower
How to install your Husqvarna robotic lawn mower
Owning a Husqvarna Automower® is all about ease of use, which is felt instantly as even the installation process has been fine-tuned. Here’s a guide to how easy it is to install a Husqvarna robotic lawn mower.
Begin by taking a look at your lawn. To minimise the risk of having your machine get stuck or damaged, the grass has to be cleared of all rocks, twigs, tools, toys and similar obstacles. Also, if the grass is longer than ten centimetres you are recommended to cut it with a regular lawn mower one last time.
1. Place the charging station
Place the charging station on flat ground in the middle of the cutting area with some free space around it. Make sure the station is free from sunlight, out of reach of sprinklers and close to a power outlet.
2. Charge the battery
Once the charging station is in place, it’s time to charge your robotic mower. Put the robotic mower in the charging station and move on to the next step. Charging an empty battery takes 80-100 minutes.
3. Lay the boundary wire
The boundary wire is put along the edges of the lawn to define the cutting area. Simply attach it to the ground with the special nails enclosed in the package and the robotic mower will know exactly where to turn. Put “islands” of wire around flowerbeds and bushes to keep the mower from running into them.
4. Lay the guide wire
The purpose of the guide wire is to lead the Husqvarna Automower® back to the charging station when needed. Connect one end to the station and place the wire straight across the farthest part of your garden so that the robotic mower can easily find it. The other end is attached to the boundary wire where they intersect. Both the boundary and the guide wire are then connected to the charging station.
5. Relax
Turn on your Husqvarna Automower®, select your four-digit pin code, adjust the cutting height and set the work hours. And that’s it! The robotic mower will charge until ready before it heads out – at which point you have officially mowed the lawn for the last time.


